The Automobiles Blog
How to Change Your Car’s Oil Like a Pro
Changing your oil is one of the most essential maintenance tasks to keep your car running. Getting oil changed regularly ensures that your engine’s components are well lubricated, minimises friction and decreases heat generation while increasing your car’s longevity. Many car owners prefer to have their cars serviced by professionals, but knowing how to change the oil yourself can save you some money and a better understanding of the health of your car.
In this guide, we’ll break down the complete car oil replacement process to help you change your oil at home like a pro. We will also discuss expert tips for choosing the best engine oil for cars and how to keep the process clean and efficient. This step-by-step guide will make you confident in handling your oil correctly, whether you are new to this or have some experience with car maintenance.
Why Regular Oil Changes Are Important
Oil plays a vital role in keeping your car’s engine running smoothly. Over time, oil breaks down and becomes contaminated with dirt, debris, and metal particles. If left unchanged, old oil can cause serious damage to your engine.
Benefits of Regular Oil Changes:
- Improved Engine Performance: Clean oil reduces friction, allowing the engine to operate more efficiently.
- Extended Engine Lifespan: Proper lubrication reduces wear and tear on engine components.
- Better Fuel Efficiency: Clean oil helps the engine run more smoothly, improving fuel economy.
- Reduced Emissions: Fresh oil minimises the buildup of sludge and carbon deposits, helping the engine burn fuel more cleanly.
- Prevent Costly Repairs: Regular oil changes prevent major engine problems that can result in expensive repairs.
Most manufacturers recommend changing the oil every 5,000 to 7,500 miles for modern cars. However, this can vary depending on the type of oil used and driving conditions.
Tools and Materials Needed
Before starting your DIY oil change, gather the necessary tools and materials to avoid interruptions.
Tools:
- Socket wrench set
- Oil filter wrench
- Oil catch pan
- Funnel
- Jack and jack stands (or ramps)
- Latex gloves
- Shop rags or paper towels
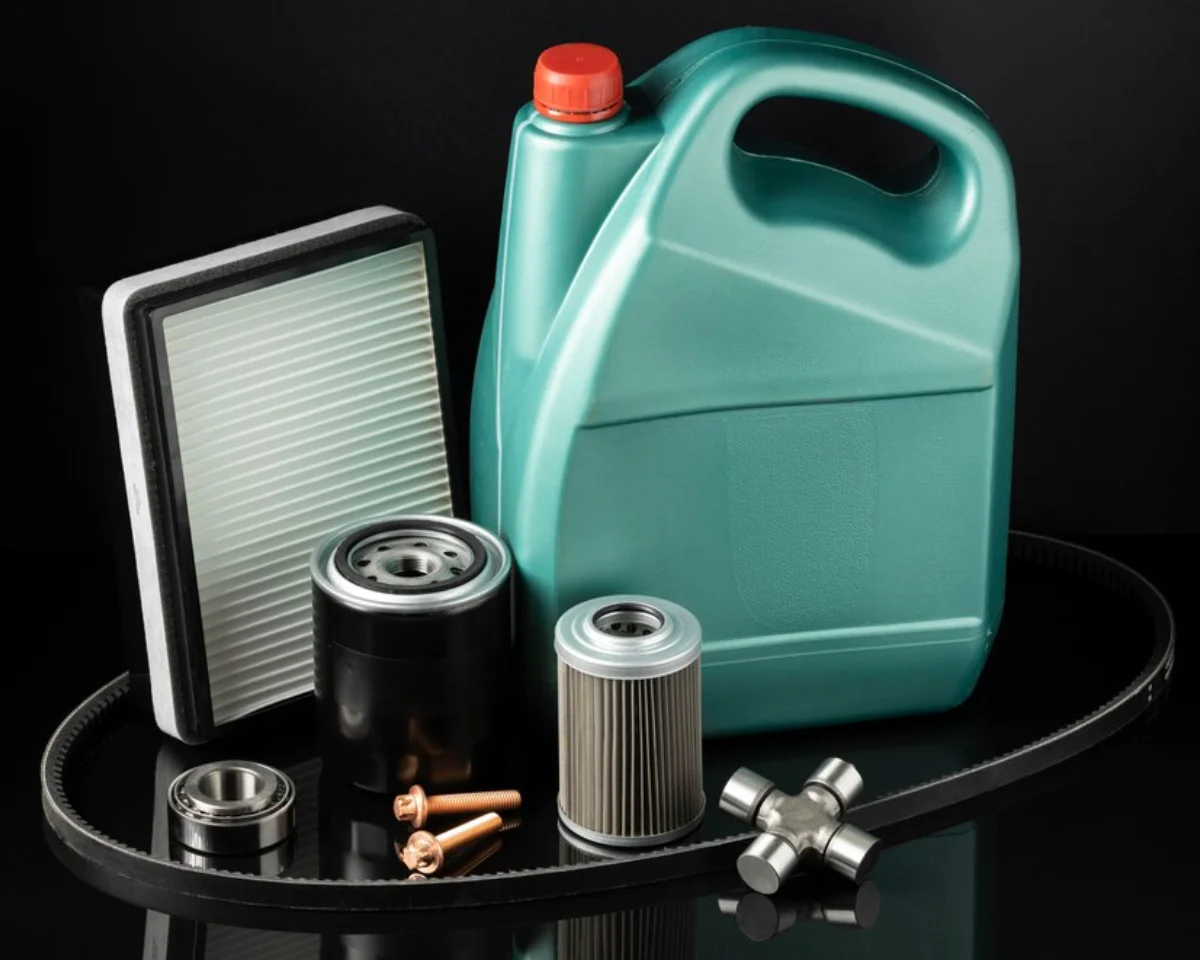
Materials:
- New oil filter
- Engine oil (refer to your owner’s manual for the correct type and quantity)
- Crush washer (if applicable)
- Oil drain plug gasket (if applicable)

How to Choose the Best Engine Oil for Cars
Selecting the right engine oil is crucial for protecting your engine and ensuring optimal performance.
Viscosity Rating (e.g., 5W-30)
- The first number (e.g., 5W) represents how well the oil flows at low temperatures. Lower numbers are better for cold starts.
- The second number (e.g., 30) indicates the oil’s thickness at operating temperature. Higher numbers provide better protection in high-heat conditions.
Conventional vs. Synthetic Oil
- Conventional Oil: Less expensive but requires more frequent changes.
- Synthetic Oil: Offers better performance in extreme temperatures and lasts longer.
- Synthetic Blend: A mix of both, balancing performance and cost.
Manufacturer Recommendations
Always consult your owner’s manual for the recommended oil type and viscosity. Using the wrong oil can reduce engine efficiency and void the manufacturer’s warranty.
Step-by-Step Guide to Changing Your Car’s Oil
Step 1: Warm Up the Engine
Start your engine and let it run for about 5 minutes. Warm oil flows more easily, making it easier to drain completely. Turn off the engine and let it cool for a few minutes to avoid burns.
Step 2: Lift the Car and Secure It
- Park the car on a flat surface and engage the parking brake.
- Use a jack to lift the front of the car and secure it with jack stands or ramps.
Step 3: Remove the Oil Filler Cap
- Open the bonnet and remove the oil filler cap.
- This allows air to flow through the system, helping the oil drain more quickly.
Step 4: Drain the Old Oil
- Place the oil catch pan beneath the drain plug.
- Use a socket wrench to loosen the drain plug.
- Let the oil drain completely — this can take about 5 to 10 minutes.
Step 5: Replace the Drain Plug and Washer
- Inspect the drain plug for damage or wear.
- Replace the washer if necessary.
- Reinstall the drain plug and tighten it to the manufacturer’s torque specifications.
Step 6: Remove and Replace the Oil Filter
- Use an oil filter wrench to remove the old oil filter.
- Check that the old filter’s gasket isn’t stuck to the engine.
- Apply a thin layer of fresh oil to the rubber gasket on the new oil filter.
- Install the new filter and tighten it by hand — do not over-tighten it.
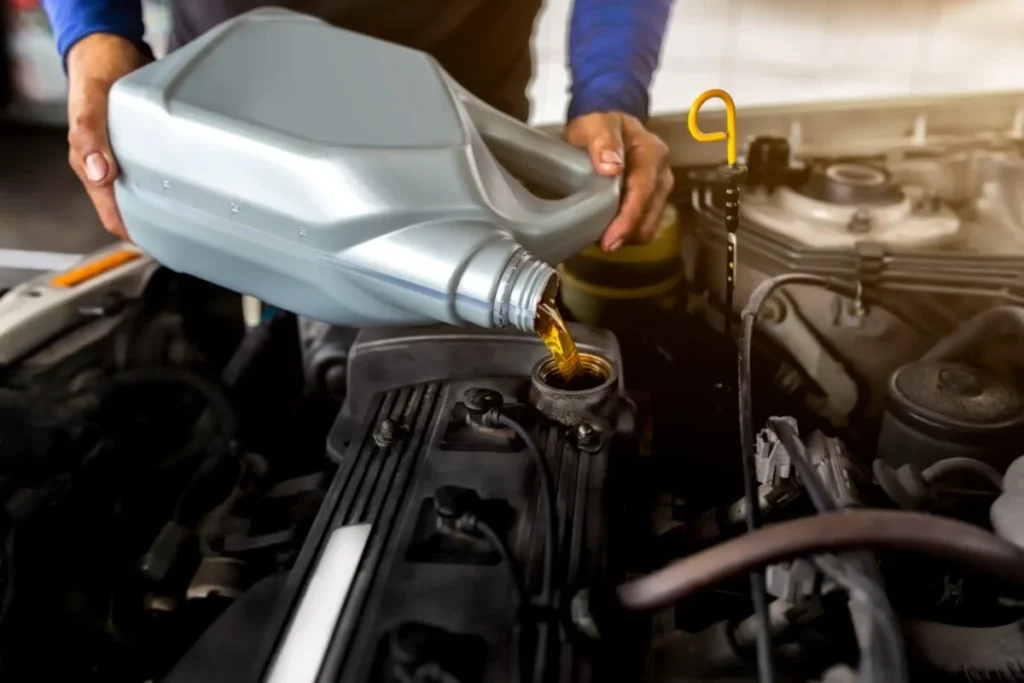
Step 7: Add New Oil
- Insert a funnel into the oil filler cap opening.
- Slowly pour in the recommended amount of new oil.
- Replace the oil filler cap securely.
Step 8: Start the Engine and Check for Leaks
- Start the engine and let it run for about 30 seconds.
- Check underneath the car for any oil leaks.
- If there are no leaks, turn off the engine and let it sit for a minute.
Step 9: Check the Oil Level
- Pull out the dipstick and wipe it clean.
- Reinsert the dipstick, then remove it again to check the oil level.
- If needed, top up the oil until the level is within the recommended range.
Step 10: Clean Up and Dispose of Used Oil
- Wipe up any spills with shop rags.
- Take the used oil and filter to a recycling centre or an auto parts store that accepts hazardous waste.
Common DIY Oil Change Mistakes
Even experienced car owners can make mistakes during an oil change. Here’s how to avoid the most common issues:
- Over-Tightening the Oil Filter – Hand-tighten the filter only; over-tightening can cause leaks.
- Using the Wrong Oil Type – Always use the oil your manufacturer recommends.
- Skipping the Drain Plug Washer – A missing or damaged washer can cause leaks.
- Overfilling the Engine with Oil – Too much oil can cause pressure build-up and engine damage.
How Often Should You Change Your Oil?
The frequency of oil changes depends on the type of oil and driving conditions:
- Conventional Oil: Every 3,000 to 5,000 miles
- Synthetic Oil: Every 7,500 to 10,000 miles
- Severe Driving Conditions: You may experience more frequent changes if you drive in stop-and-go traffic, extreme heat, or cold weather.
- High-Performance Vehicles: Follow the manufacturer’s recommendations.
Expert Tips for a Clean and Easy Oil Change
- Use a magnetic drain plug to collect metal debris and protect the engine.
- Invest in an oil drain valve to make future oil changes easier and cleaner.
- Record oil changes, including the date, mileage, and type of oil used.
- Always double-check the oil level after a few days of driving to ensure it’s within the recommended range.
DIY Oil Change: Keep Your Engine Running Like a Pro!
You can save money and keep your car running efficiently by learning to change oil yourself. To keep your engine happy and running for years to come, follow the steps to replace the oil in your car and choose the best engine oil for vehicles.
Regular oil changes are among the simplest yet most helpful maintenance tasks you can do for your car. Ready to give it a try? Grab your tools, follow the steps from this guide, and take the reins on your car’s maintenance today!
Have any other car maintenance advice or tips on choosing the correct oil for your vehicle? Leave a comment or contact us for professional help! For more help, check this checklist!


YOU MAY LIKE