
DIY Car Detailing: How to Make Your Car Look New Again
Nothing beats the look and feel of a newly detailed car. While professional car detailing can be costly, the great news is that you can get the same results in the comfort of your home with the right techniques and a little effort. Cleaning your car the right way will restore its appearance to new and value and keep your transport looking like it just rolled off the production line for many years.
In this car detailing tutorial, we’ll show you how to clean your car wholesomely—both inside and out—like a pro. From a wash and wax job to a carpet deep-clean and trim polish, this step-by-step DIY guide will get your car that showroom shine without a chequebook overhaul.
1. Gather Your Detailing Supplies
Before you begin, ensure you have all the necessary supplies. Investing in the right products and tools will make the job easier and more effective.
Essential Detailing Supplies:
- Microfibre towels – For drying and wiping down surfaces.
- Two buckets – One for clean water and one for soapy water.
- Car shampoo – Use a pH-balanced formula designed for cars.
- Wheel cleaner and brush – To remove brake dust and grime.
- Clay bar – To remove embedded contaminants.
- Polish and wax – To enhance shine and protect the paint.
- Glass cleaner – Ammonia-free to avoid damage to tinted windows.
- Vacuum cleaner – With crevice tools for tight spots.
- All-purpose cleaner – For plastics, vinyl, and leather surfaces.
Using the right products helps achieve a professional finish. They also protect your car’s surfaces from damage.
Quick Guide
10 Steps to a Showroom Shine
- Gather your gear: Microfibre towels, shampoo, polish, wax, and more.
- Start with the wheels: Clean them first to avoid splashing dirt later.
- Wash wisely: Use the two-bucket method and avoid direct sunlight.
- Clay, polish, and wax: Deep clean and protect the paintwork.
- Clean the inside: Vacuum, scrub, and condition for comfort and freshness.
- Protect the finish: Use sealants, quick detailers, and regular upkeep to stay shiny.
Pro Tip
Detail from the top down —starting at the roof ensures you’re not washing dirt back onto clean panels. And always use different cloths for the body, wheels, and interior to avoid cross-contamination.
Important
Skip household cleaners—they can strip wax, damage trims, and scratch surfaces. Stick to pH-balanced, car-specific products for a safe and professional finish.
2. Start with the Wheels and Tyres
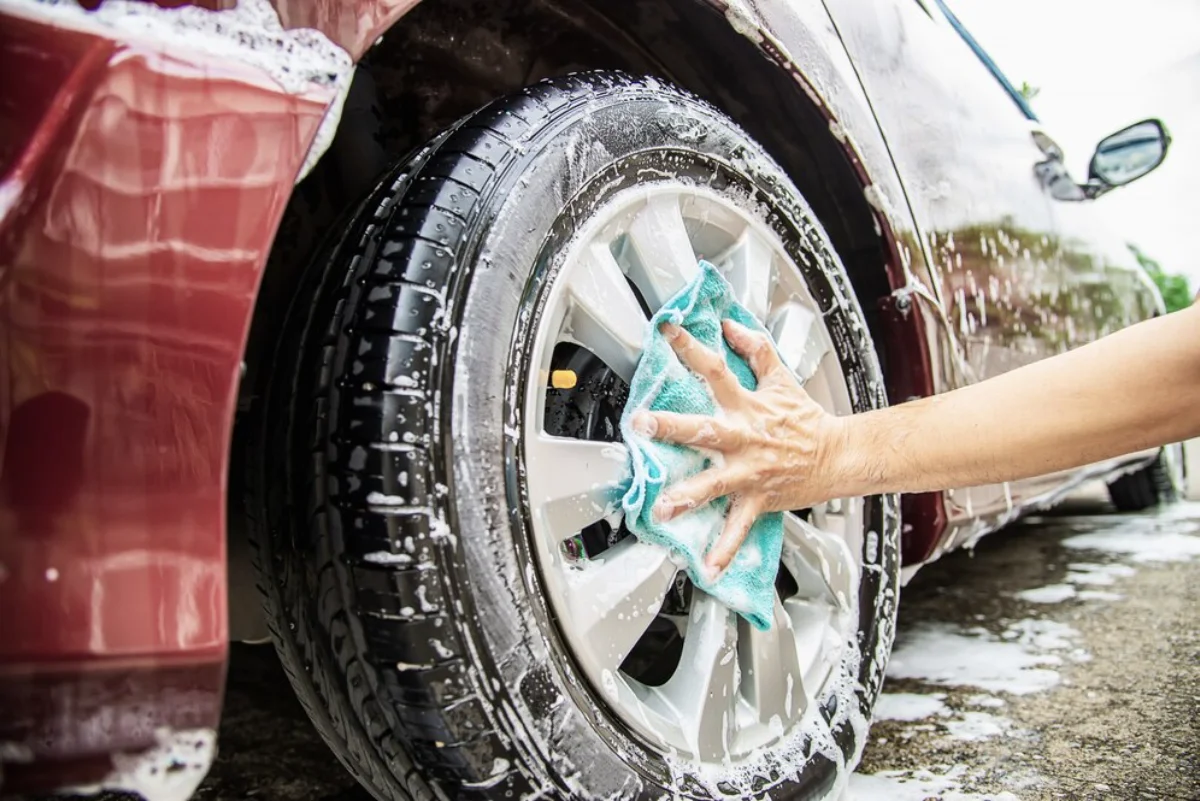
The wheels and tyres are usually the dirtiest part of the car, so it’s best to start with them to avoid splashing dirt onto clean surfaces.
Best Technique for Cleaning Wheels and Tyres:
- Rinse the wheels with a hose to remove loose dirt.
- Apply wheel cleaner and let it sit for a minute to break down brake dust.
- Use a wheel brush to scrub the rims and tyre sidewalls.
- Rinse thoroughly and dry with a microfibre towel.
- Apply tyre dressing to give the tyres a glossy finish and protect against cracking.
Cleaning the wheels first prevents dirt from splashing onto freshly cleaned panels.
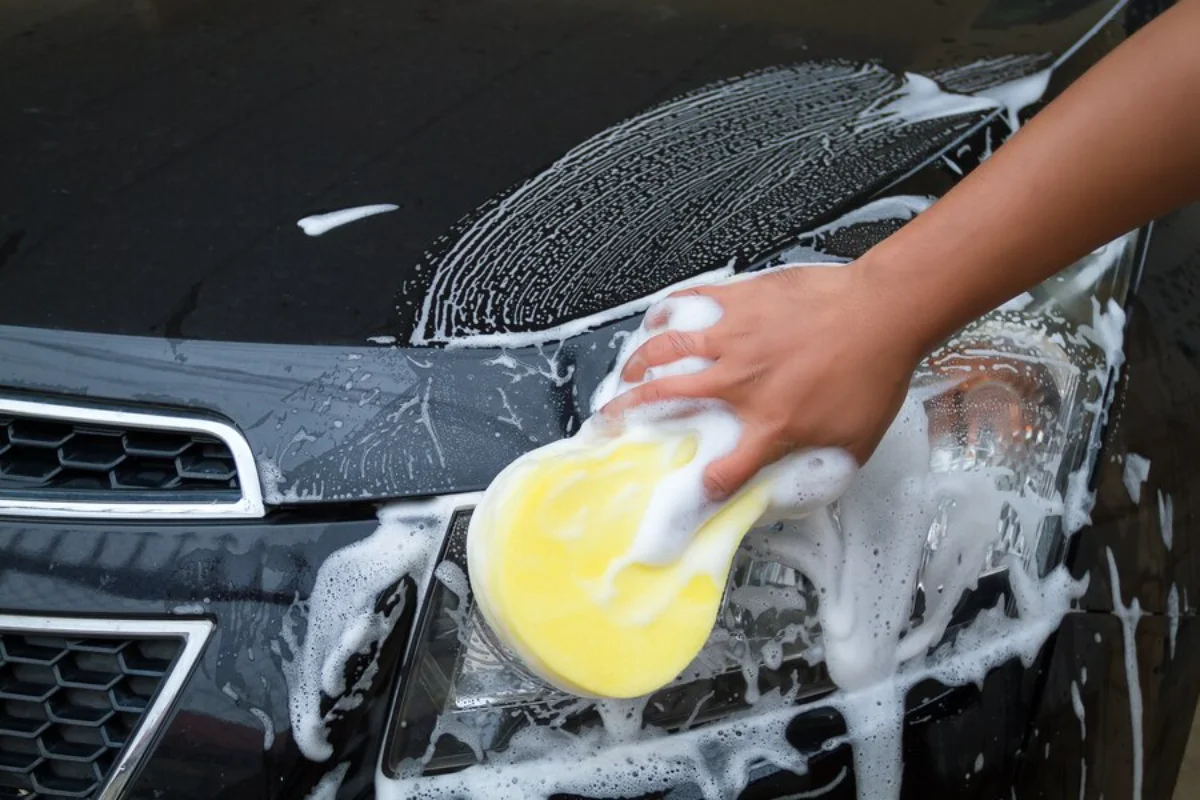
3. Wash the Car Exterior
Once the wheels are clean, it’s time to tackle the exterior. Proper washing is key to avoiding swirl marks and preserving the paint’s finish.
How to Wash Your Car Like a Pro:
- Use the two-bucket method – One for soapy water and one for rinsing.
- Rinse the car first to remove loose dirt.
- Use a soft microfibre mitt to wash from top to bottom in straight lines (not circles).
- Rinse frequently to avoid dirt buildup on the mitt.
- Dry with a clean microfibre towel to prevent water spots.
Avoid washing in direct sunlight, as it can cause soap to dry on the paint and leave streaks.
4. Clay Bar to Remove Contaminants
After washing, the surface may still feel rough due to embedded contaminants like tar, tree sap, and road grime. A clay bar will remove these impurities and create a smooth surface.
How to Use a Clay Bar:
- Spray a clay lubricant onto a small section of the car’s surface.
- Glide the clay bar gently over the area in straight lines.
- Fold the clay frequently to expose a clean side.
- Wipe down with a microfibre towel.
This step will make the paint feel silky smooth and prepare it for polishing and waxing.
5. Polish and Wax the Paintwork

Polishing removes minor scratches and oxidation while waxing protects the paint and enhances shine.
Best Technique for Polishing and Waxing:
- Apply polish using an applicator pad or a polishing machine.
- Work in small sections, using a circular motion.
- Buff off excess polish with a clean microfibre towel.
- Apply wax using a foam applicator.
- Allow the wax to haze over, then buff to a high shine.
Polishing and waxing protect the paint from UV rays, road salts, and contaminants, preserving your car’s finish.
6. Clean the Windows and Mirrors
Clean windows and mirrors improve visibility and give your car a professional finish.
How to Get Streak-Free Glass:
- Use an ammonia-free glass cleaner to avoid damage to window tints.
- Spray cleaner onto a microfibre cloth (not directly onto the glass).
- Wipe in a circular motion, then switch to a clean side for a final polish.
- Clean both the inside and outside for maximum clarity.
Clean windows enhance both the look of your car and driving safety.
7. Detail the Interior
The interior is where you spend the most time, so giving it a deep clean will make driving more comfortable and enjoyable.
Step-by-Step Interior Detailing:
- Remove floor mats and vacuum them separately.
- Vacuum the carpets and seats – Use a crevice tool for tight spots.
- Shampoo carpets and seats if they’re stained.
- Clean plastic and vinyl surfaces with an all-purpose cleaner.
- Use a leather conditioner on leather seats to prevent cracking.
- Clean the dashboard and console with a microfibre cloth.
Pay attention to details like door jambs, cup holders, and seat crevices for a thorough job.
8. Protect and Maintain the Finish
Once your car is clean, you’ll want to maintain that fresh look for as long as possible.
How to Protect Your Car’s Finish:
- Apply a paint sealant every 6 months for added protection.
- Use quick detailer sprays to remove dust and maintain shine.
- Cover your car when parked outdoors to protect it from the elements.
- Wash regularly – Ideally, every 2 weeks to prevent dirt buildup.
A little maintenance will keep your car looking freshly detailed for months.
9. Clean the Engine Bay (Optional)
Cleaning the engine bay improves the car’s appearance and helps you spot leaks and issues more easily.
How to Safely Clean the Engine Bay:
- Cover electrical components with plastic bags.
- Spray a degreaser onto the engine surfaces.
- Use a soft brush to scrub away grime.
- Rinse carefully with low-pressure water.
- Dry with a microfibre towel.
Cleaning the engine bay can improve cooling and performance while giving the car a detailed look.
10. Final Touches
To finish the job, take a moment to inspect the car and address any missed spots.
Final Detailing Checklist:
- Buff out any streaks on the paint.
- Check for water spots on the glass and chrome.
- Clean and condition rubber seals on doors and windows.
- Apply air freshener for a clean scent.
These small details will give your car a truly professional finish.Give this checklist a read to be on top of your car maintenance
Top 5 FAQs
1. How long does DIY car detailing take?
Plan for around 2–4 hours depending on your car’s condition and how thorough you want to be. Interior and exterior together may take a bit longer.
2. Can I use washing-up liquid to wash my car?
No—it’s too harsh and can strip protective wax. Always use car shampoo that’s gentle on paint.
3. How often should I detail my car?
A full detail every 3–6 months is ideal, with regular maintenance washes in between to keep your car looking fresh.
4. What’s the purpose of a clay bar?
It removes contaminants stuck to your paint that washing can’t, leaving the surface smooth and ready for polish and wax.
5. Is it safe to clean the engine bay myself?
Yes—with care. Cover electronics, use low pressure, and let the engine cool before you start. Always check your owner’s manual first.
Shine Like New: DIY Car Detailing Made Easy!
Detailing your car at home saves money, gives you full control over the process, and allows you to personalise the finish. By following this car detailing guide and using the best car cleaning techniques, you can restore your car’s shine and protect it from future damage.
Ready to get started? Gather your supplies and give your car the attention it deserves. For more interior and exterior car care tips, subscribe to our newsletter or leave a comment below — we’d love to hear about your detailing success!


