How to Restore a Classic Car: A Step-by-Step Guide
Restoring a classic car can be rewarding but also challenging. It takes patience, skill, and dedication. Whether you’ve just got a vintage car needing care or want to revive a family heirloom, knowing the classic car restoration process is key.
To restore a classic car successfully, you need solid planning, a budget, and a keen eye for detail. You must source original parts and ensure the mechanical components work well. Every step requires diligence. This guide will walk you through the step-by-step process of rebuilding a vintage car. We’ll start with the initial assessment and end with the finishing touches. We’ll share restoration tips to help you avoid common mistakes and ensure your project succeeds.
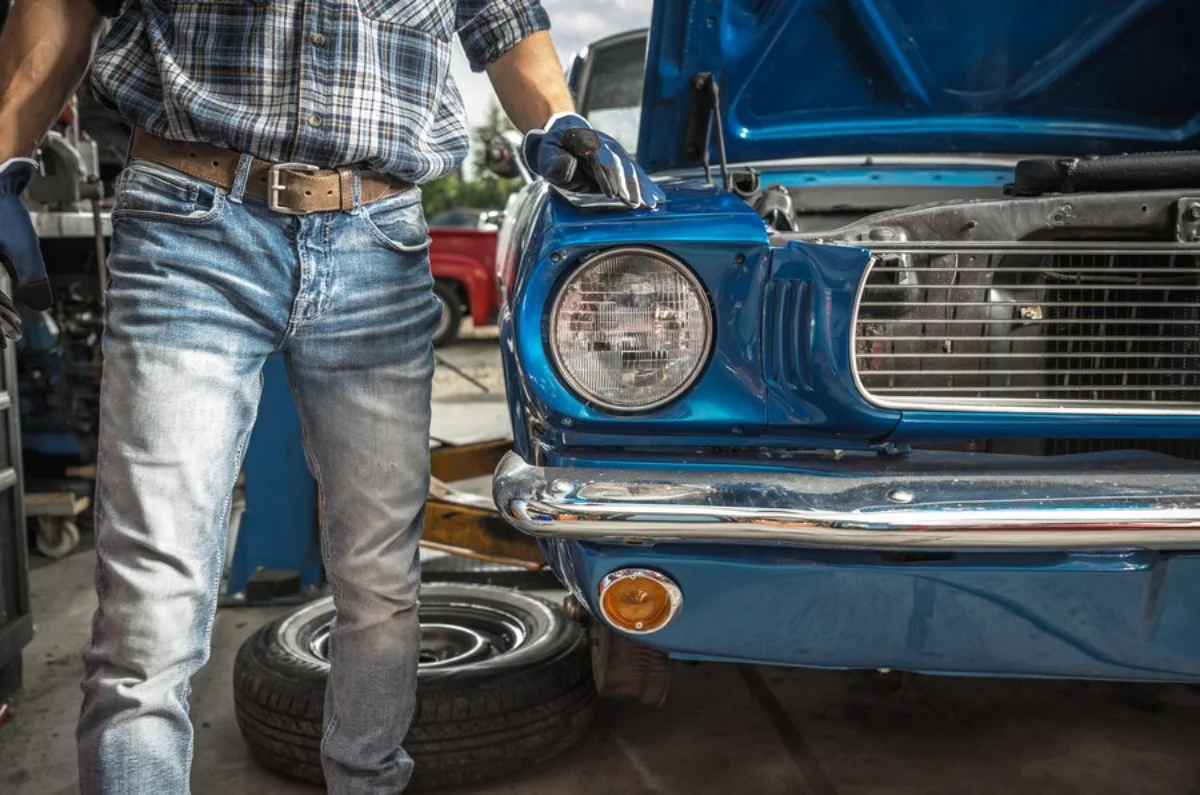
Step 1: Choose the Right Car to Restore
Selecting the right vehicle is essential before tackling a classic car restoration. Some vintage cars are easier to restore due to the availability of parts, while others may require extensive custom fabrication.
Factors to Consider:
- Availability of Parts – Some vintage cars have scarce or expensive replacement parts. Research the supply chain before committing to a model.
- Rust and Structural Damage—Extensive rust can lead to costly repairs. Carefully inspect the car’s underbody, frame, and panels.
- Your Skill Level – Certain restorations require advanced mechanical expertise. If you’re a beginner, opt for a more straightforward project.
- Resale Value – If resale is your goal, research top classic car models that hold their value well.
- Project Timeline: Be realistic about how long the restoration will take. Some projects span years, depending on their complexity and budget.
Quick Guide
Classic Car Restoration in 7 Key Steps
- Choose wisely: Research models and inspect thoroughly before buying.
- Plan and budget: Set clear goals and expect surprise costs.
- Disassemble with care: Photograph, label, and organise every part.
- Repair rust and bodywork: Fix panels and treat corrosion properly.
- Rebuild the engine & transmission: Prioritise reliability and originality.
- Refurbish interior & electrics: Modern safety meets vintage charm.
- Paint and reassemble: Take your time—this is where it all comes together.
Pro Tip
Restoration is a marathon, not a sprint. Document every nut and bolt—photos and labels are your best friend. They’ll save hours (and headaches) during reassembly.
Important
Don’t underestimate rust. Surface rust may look harmless, but structural rust can be a costly, safety-critical issue. If you’re unsure, have a professional inspect the frame before proceeding.
Step 2: Create a Restoration Plan and Budget
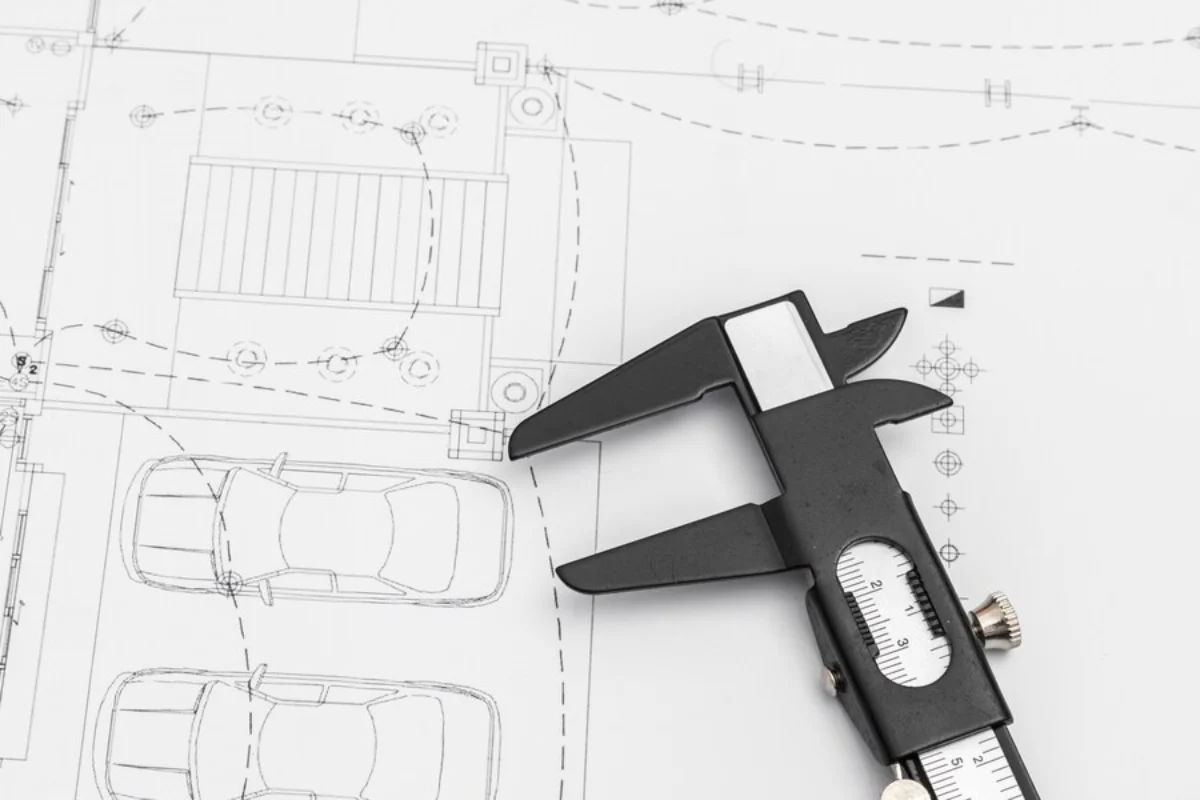
A well-thought-out plan will save time, money, and frustration. Without a roadmap, restoration projects can quickly become overwhelming.
How to Plan Your Classic Car Restoration:
- Set Goals – Are you aiming for a showroom-quality restoration, a drivable classic, or a restomod?
- Break Down the Process – Divide the project into manageable phases:
- Disassembly – Remove all major components carefully.
- Bodywork and Rust Repair – Address any structural issues.
- Engine and Transmission – Rebuild or replace essential parts.
- Electrical and Interior Restoration – Restore wiring, upholstery, and dashboard.
- Painting and Reassembly – Give the car its final look and put it back together.
- Set a Budget – List all anticipated costs, from parts to labour. Always allow an extra 20-30% for unexpected expenses.
- Find Reliable Suppliers – Source original or high-quality aftermarket parts from reputable dealers.
- Schedule Regular Work Sessions – Restoration can be time-consuming; set a timeline to keep things moving.
Step 3: Disassemble the Vehicle
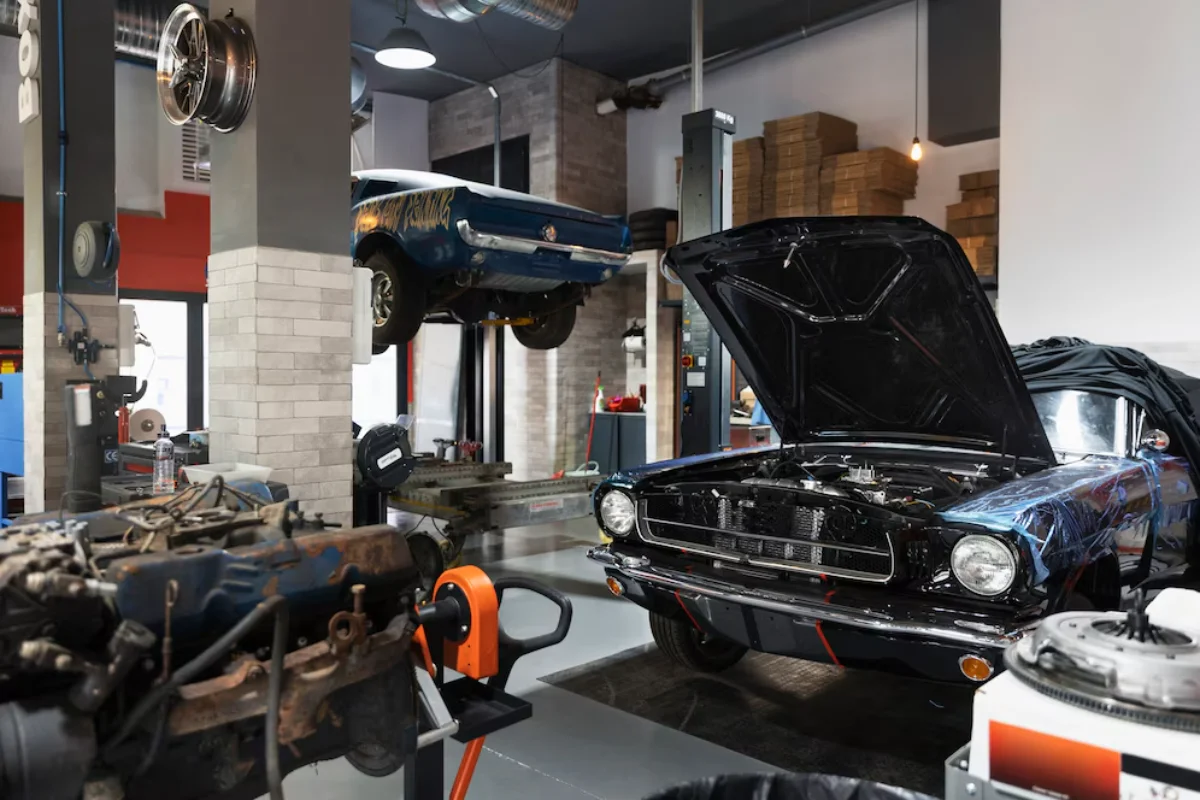
Proper disassembly is crucial for a successful classic car restoration. Haphazard removal of parts can lead to confusion during reassembly.
Tips for Efficient Disassembly:
- Document Everything – Take high-resolution photos and detailed notes as you remove components.
- Organise Parts – Store nuts, bolts, and components in labelled containers.
- Tag Wires and Hoses – Use colour-coded tape or labels to avoid confusion during reassembly.
- Use a Dedicated Workspace – A clean, organised garage or workshop will make the process smoother.
Step 4: Address Bodywork and Rust Repair
Rust is one of the biggest challenges in classic car restoration. It can weaken the car’s structure and reduce its longevity if not addressed properly.
How to Fix Rust and Body Damage:
- Surface Rust – This can be removed with sandpaper or chemical rust removers.
- Moderate Rust – Requires sandblasting or grinding.
- Severe Rust – This may necessitate replacing entire panels or welding patches.
- Frame Damage – Check for structural integrity. If necessary, consult a professional welder.
- Primer and Protection – Apply a rust-resistant primer before painting to prevent future issues.
Step 5: Restore the Engine and Transmission
The engine and transmission are the heart of any vintage car. Ensuring they are in top shape is vital for reliability and performance.
Engine Restoration Options:
- Full Engine Rebuild – Disassemble, clean, and replace worn-out parts such as pistons, gaskets, and bearings.
- Partial Overhaul—If the engine is in good condition, Replacing belts, filters, and fluids may be sufficient.
- Engine Swap – Consider a period-correct replacement if the original engine is beyond repair.
Transmission Restoration:
- Manual Transmission – Inspect and replace clutch components if necessary.
- Automatic Transmission – Rebuild or replace worn-out parts for smooth shifting.
- Driveshaft and Differential – Check for wear and lubricate accordingly.
Step 6: Electrical and Interior Restoration
The electrical system in a classic car is often outdated and fragile. Rewiring is essential to avoid shorts and fire hazards.
Key Steps:
- Replace Wiring Harness – If the existing wiring is brittle or corroded, install a new harness.
- Upgrade to Modern Safety Standards – Consider adding fuses or relays for better reliability.
- Test All Electrical Components – Ensure that headlights, indicators, and gauges function correctly.
- Interior Restoration – Reupholster seats, replace carpets and refurbish the dashboard for an authentic look.
Step 7: Paint and Reassemble the Car
A fresh coat of paint will bring your classic car restoration project to life.
Painting Process:
- Strip the Old Paint – Use a chemical stripper or sanding method.
- Apply Primer – Choose a high-quality primer for durability.
- Paint and Clear Coat – Apply multiple coats for a smooth finish.
- Polishing and Buffing – Finalise with a protective wax coating.
Reassembly Tips:
- Follow Your Documentation – Use your disassembly notes and photos as a reference.
- Double-Check Connections – Ensure wiring and hoses are correctly installed.
- Test Before Completion – Run the engine and electrical systems before finalising the assembly.
Final Restoration Tips:
- Perform Regular Maintenance – Keep your classic in top condition with routine checks.
- Store Properly – Protect your car from moisture and extreme temperatures.
- Join Classic Car Clubs – Connect with fellow enthusiasts and exchange restoration tips.
Have you restored a classic car before? Share your experiences and restoration tips in the comments below!
Top 5 FAQs
1. How long does it take to restore a classic car?
Anywhere from a few months to several years. It depends on the car’s condition, your experience, and the time and budget you can dedicate.
2. Can a beginner restore a classic car?
Yes—with research, patience, and the right tools. Start with a simpler project and learn as you go. Don’t be afraid to ask for help from online forums or local clubs.
3. Is it better to keep the original engine or do a swap?
Keeping the original engine preserves authenticity and value, especially for collectors. However, if it’s beyond saving, a period-correct or upgraded swap can be a practical alternative.
4. Should I paint the car myself or hire a professional?
DIY painting is possible, but it requires proper equipment, a clean space, and practice. If you’re aiming for a flawless finish, professional spray booths are worth the investment.
5. How much does it cost to restore a classic car?
Budgets vary widely—from £5,000 to over £50,000. Always factor in hidden costs like rust repair, sourcing rare parts, and unexpected mechanical issues.
Conclusion: Enjoying Your Restored Classic Car
Your classic car restoration project is complete after months or even years of hard work. The satisfaction of driving a vintage car you rebuilt with your hands is unmatched. You can take your car to shows, take weekend drives, or simply admire the craftsmanship in your garage.